Django 1.9.x installation workshop
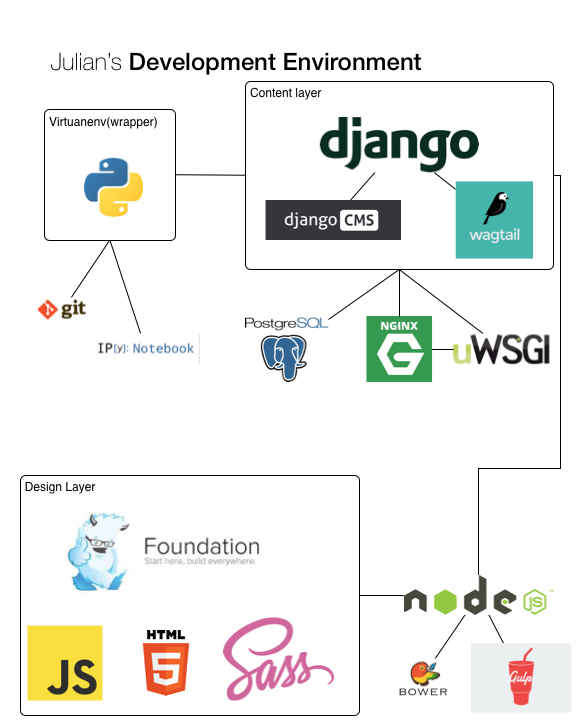
Development environment
python + virtualenv
django
postgresql
jupyter
git
nginx
uwsgi
foundation
- node + npm
- gulp
- bower
Create virtualenv
Set up project with virtualenvwrapper.
Install virtualenvwrapper on linux/mac.
Install virtualenvwrapper-win on windows (not tested).
Run:
mkvirtualenv --python=/usr/local/bin/python3 pcs-django
Ro access your virtualenv, run:
workon pcs-django
Add the path to your project in the ”.project” file. now you can run commands like:
cdvirtualenv
cdproject
cdsitepackages
Install django in virtualenv with pip:
pip install django
Some optional apps which are quite useful are:
- jupyter (ipython successor with notebook support)
- django-extensions
To install run:
pip install jupyter
pip install django-extensions
Set up a django project
Run:
django-admin startproject someproj
cd someproj
./manage.py migrate
./manage.py createsuperuser
./manage.py runserver
This will create a new project named “someproj” in the directory you are now located.
It is advisable to use the following in your projects
Static files setup
To serve “static” files add the following to the “settings.py” config file:
STATIC_ROOT = os.path.join(BASE_DIR, 'static')
Optional: You can also add a ‘media’ folder to hold your uploaded images and files:
MEDIA_URL = '/media/'
MEDIA_ROOT = os.path.join(BASE_DIR, 'media')
Collect the static files needed to run the app:
./manage.py collectstatic
Restart the server:
./manage.py runserver
In a browser, visit:
http://localhost:8000/admin
and login with the username and password you created with the createsuperuser command at project creation above. See Set up a django project.