These screenshots were taken from MacOS Ventura - 13.3 - installation
- ps1 model: Kyocera FS-4000DN
Step 2: setup printer
From the dock choose "System Settings" > "Printers & Scanners". Alternatively you can open "System Settings and search for "Printers & Scanners".
From the bottom right corner choose: "Add Printer, Scanner or Fax..."
Press the "+" sign.
In the next window, from the upper menu choose IPP and then fill out he following info:
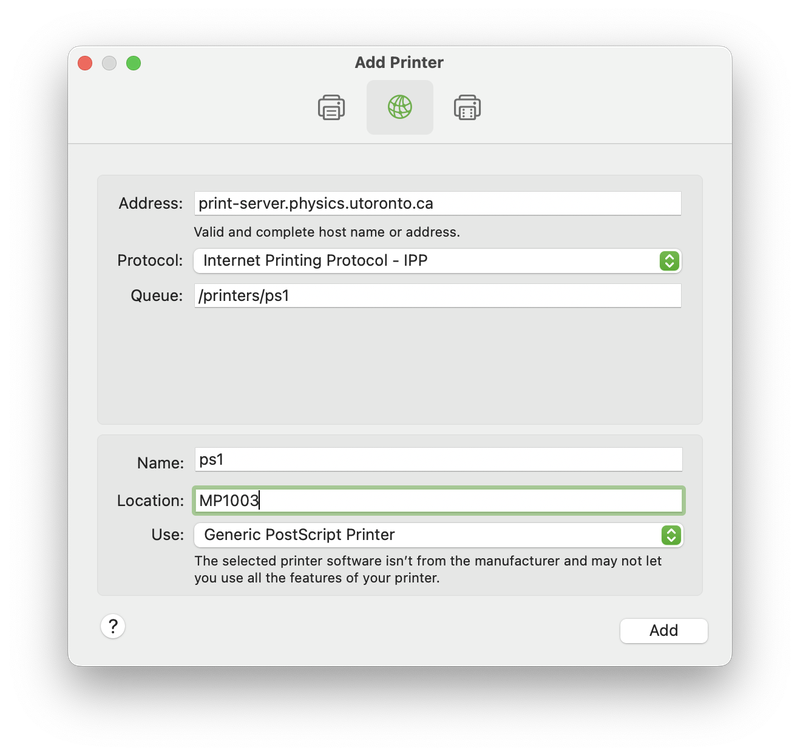
Address: print-server.physics.utoronto.ca
 Protocol: Internet Printing Protocol - IPP
 Queue:
/printers/ps1
Name: ps1
Location: MP1003 (optional)
Use: Other ...
Choose "Generic PostScript Printer" from the "Use" drop down (see above screenshot this page).
Press "Add".
Step 3: Test your printer setup
Double click the "ps1" printer (or whatever name your newly installed printer has)
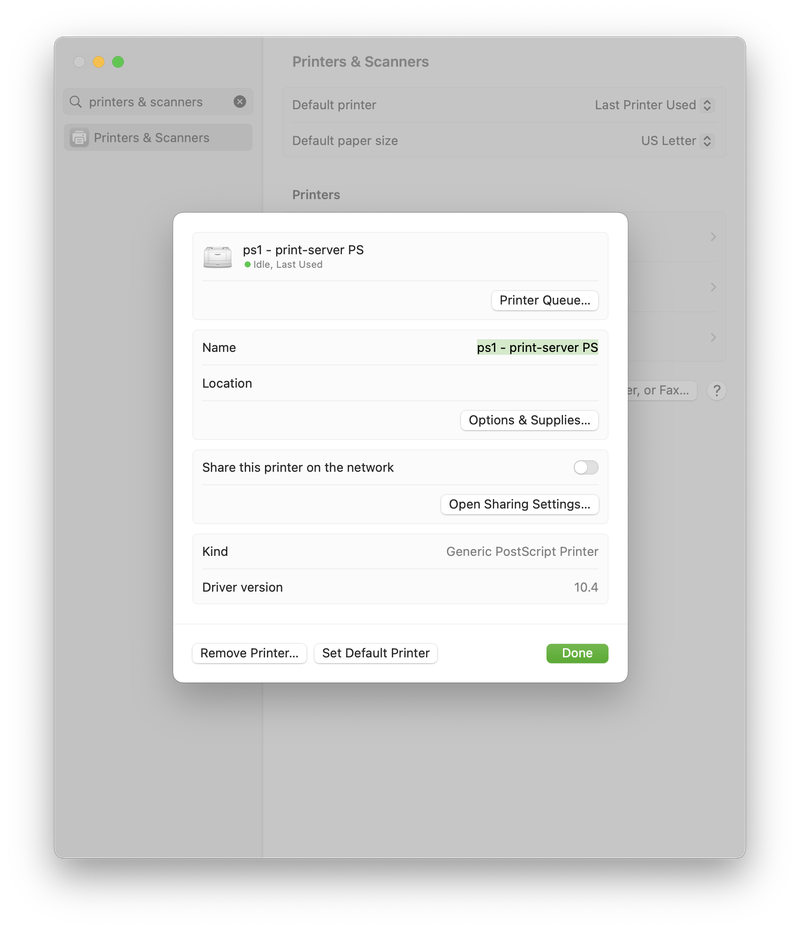
Choose "Printer Queue".
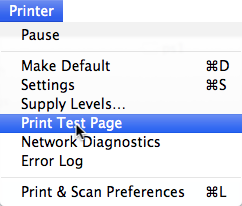
From the menu of the upcoming window choose "Printer":

Choose "Print Test Page":
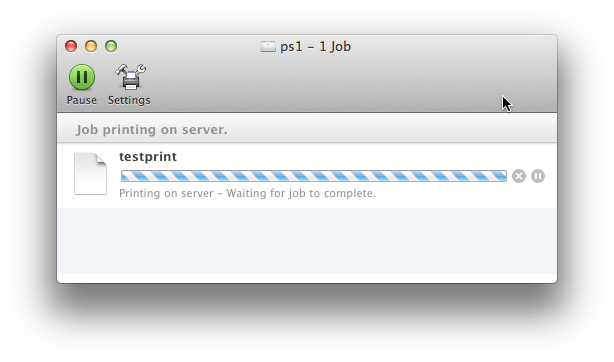
Browse to http://print-server.physics.utoronto.ca/jobs/ and check to see your job.
If your job shows up in the "Completed jobs" list, you're done.
You can go and pick up your print out.