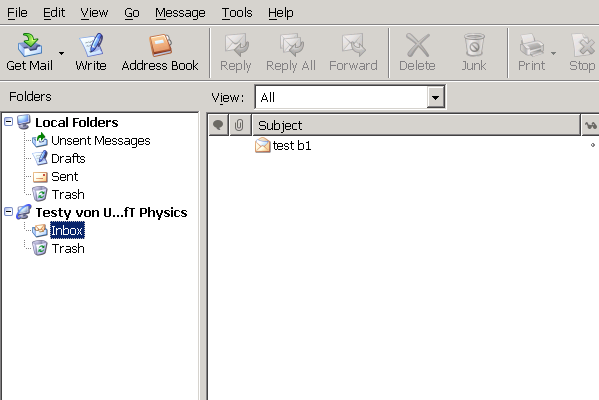
Introduction
Mozilla Thunderbird is currently the best supported email client in the Physics Department due to its healthy feature set and its cross-platform availability.
The instructions given here are presented in the form of a visual tour through the setup procedure for ussing Thunderbird with the Physics servers. As such, few technical issues are addressed. This is a deliberate choice in order to maximize the value of this document to the least technically savvy users.
To get started, the user must have Thunderbird installed on the system. Installation instructions are outside the subject area of this document.
Phase 1
Upon starting up Thunderbird, if you have no existing accounts, you will see the window below. If you already have an account, click on "Local Folders" in the left panel to get to the same screen.
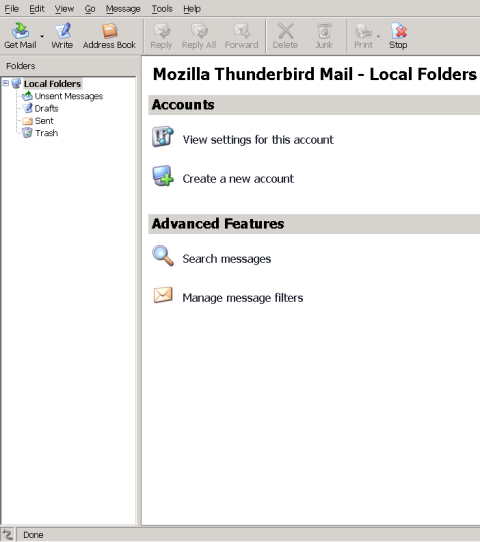
Now choose "Create a new account". This will result in presentation of the next window.
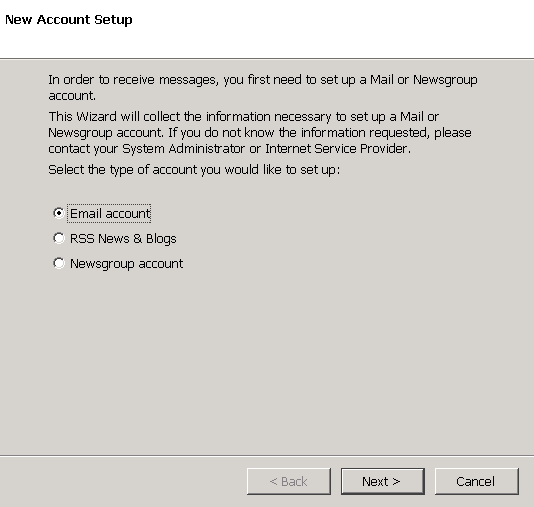
You will want to choose an "Email account" and press "next".
Now you are at the Identity page. Fill in your name and e-mail address and hit Next.
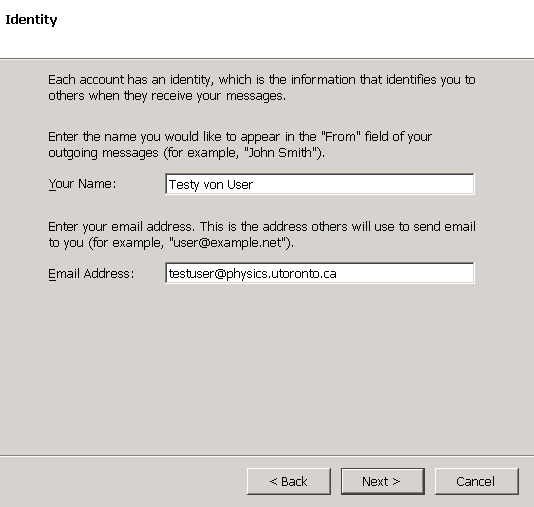
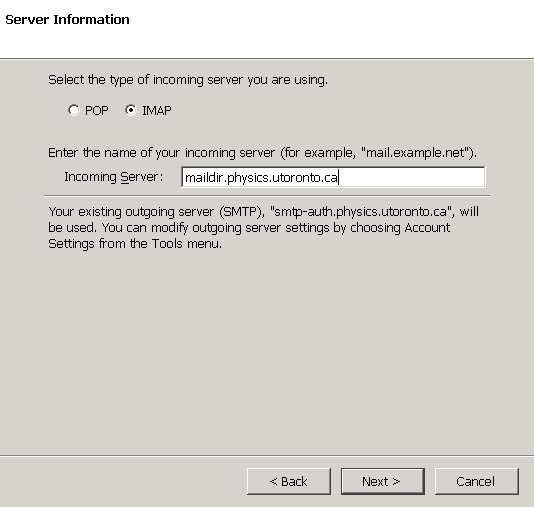
Now you are at the Server Information page where you choose the type and name of your incoming e-mail server. Choose an IMAP server unless you specifically know that you want a POP server. (We discourage use of POP, although it will be supported for the forseeable future.)
For accounts created in the last 2 years, the server name will maildir.physics.utoronto.ca. Older accounts will probably be using imap.physics.utoronto.ca.
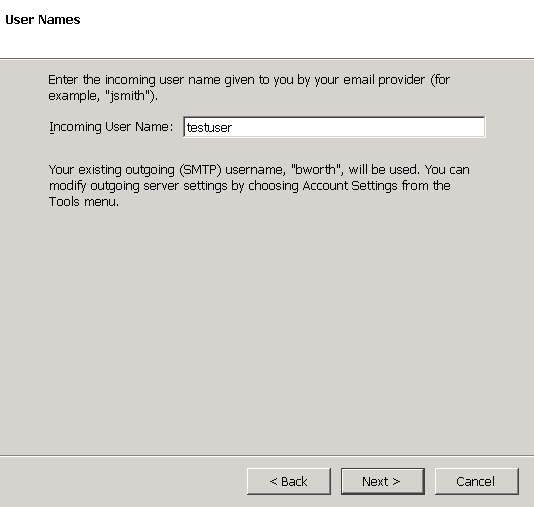
The User Names page is where you specify the account name to user for authenticating to the IMAP or POP3 server. In most cases this will be the part of your e-mail address that precedes the @ sign.
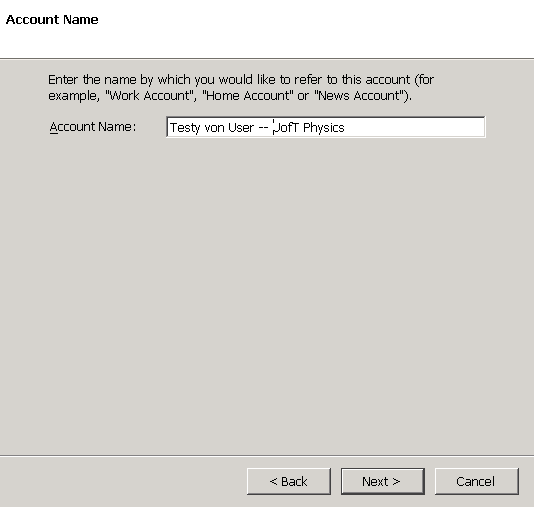
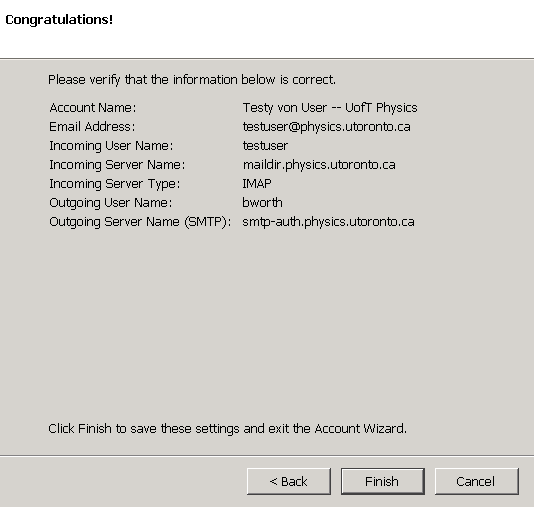
The Account Name referred to in the next page is a label for presentation in your browser and does not affect interactions with the mail server. Choose an obvious name that tells you this is your Physics department account.
Phase 2
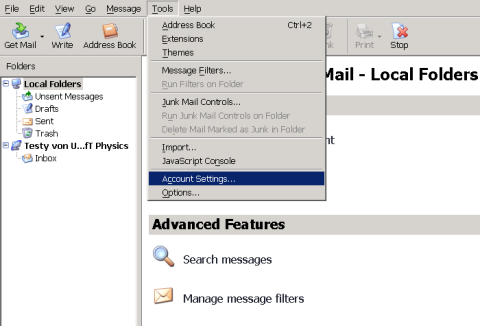
Menu Tools Account Settings
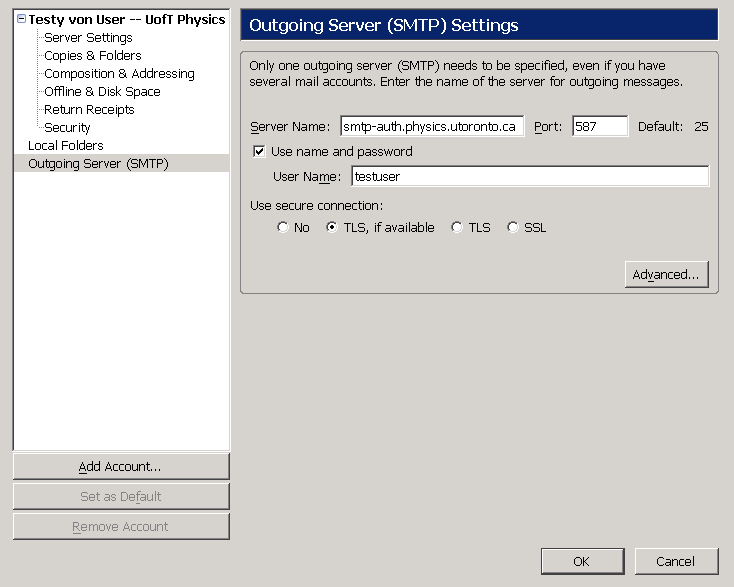
Outgoing Server Settings
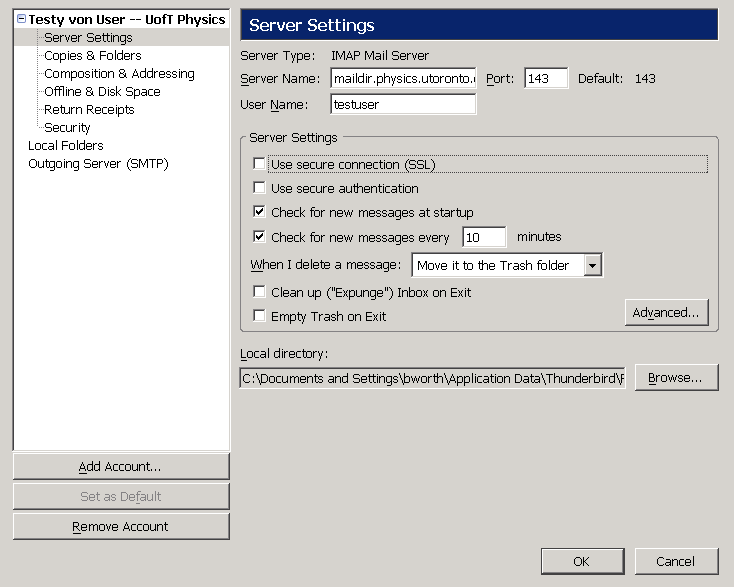
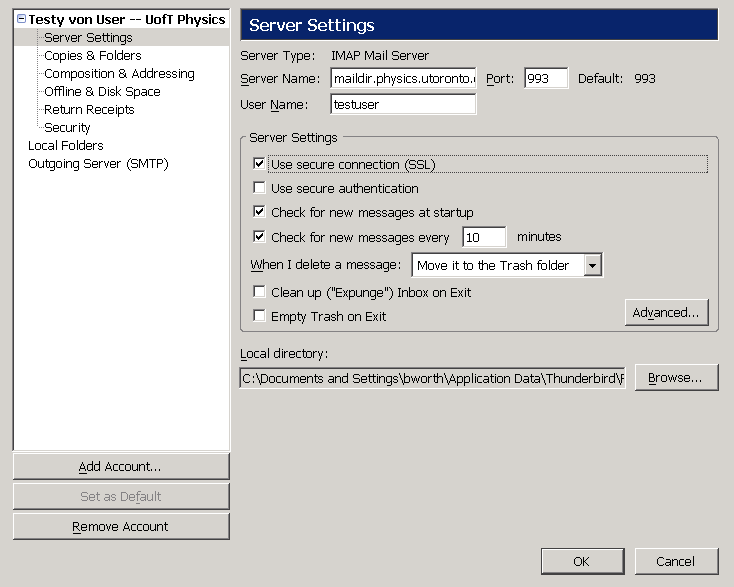
Server Settings Initial Screen
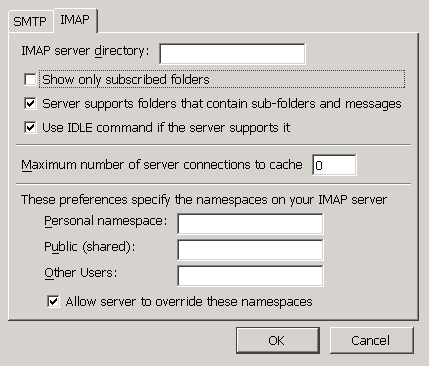
Advanced IMAP Server Settings
Set Secure Connection
Phase 3
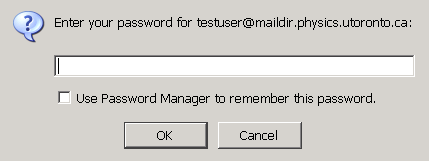
Enter Helios/Apollo Password
Welcome to Your Inbox
